Showing posts with label Tips. Show all posts

Friday, August 16, 2013

Rosemary's Sage Natural Hair Colorant

Some of my beautiful Sage in my Kitchen Herb Garden
I found this natural 'remedy' on Facebook when a friend posted the link ... so being its all natural and made with herbs, things I am into and which I just happen to grow in my Kitchen Herb Garden ... it sounded like something worth giving a try.


Yea, I'm a little skeptical BUT definitely hopeful that it works ... at least to some degree.  Along with my lupus comes crazy bouts with psoriasis, which, right now, among other places, is in my scalp (one side).  Though I've had it before ... this time I'm having trouble getting it to clear up completely, even with the chemical drugs the doctor has given me for both internal and external use ... its being stubborn and will not completely clear up ... which leads to a problem ... I CANNOT have my hair colored ... at least, not until it is cleared.  Sure don't want my hair falling out (heck I've had that too but that's another story).  So TODAY ~ August 14, 2013 ... I started using this 'Tea' to see if it really works! Oh and I like to call it Rosemary's Sage Tea ... cause I like the sound of it!

This was my first batch of harvesting Sage ... I thought for sure this
would easily make 1/4th cup of Rubbed Sage ... NOT!
Here it is AFTER its been dried ... not much huh?
Here's my second batch of harvesting Sage ... this along
with the first batch made EXACTLY 1/4th cup Rubbed Sage!!!
This is how I hung it to dry in my Laundry Room.
Basically, this is what the article I read stated:


"This recipe is for a natural hair rinse to gradually conceal graying hair. This homeopathic natural hair rinse will brighten and color grey hair naturally."


What you will need:


1/4 cup Rubbed Sage
1/4 cup Rosemary Leaves
(Organic, if possible)
1 cup Distilled Water

My ingredients for the 'Tea'
Lucky for me I grow my own herbs so harvesting was relatively easy ... at least the Rosemary was ... I just cut off a branch from one of my many Rosemary plants and stripped off the leaves.  Now the Sage, which I normally use by harvesting the leaves and using them directly in recipes, took a little more effort.  I've never gone to the trouble to make Rubbed Sage, though the flavor is much stronger then just using the leaves fresh from the garden.  You can find instructions on making Rubbed Sage here:  http://www.ehow.com/how_8634966_make-rubbed-sage.html#page=0  To buy this much Rubbed Sage in the grocery store would be costly as I'm pretty sure a bottle or tin of it doesn't contain 1/4th cup and it took me quite a bit of leaves to get 1/4 cup Rubbed Sage!!!  So here's another link if you'd like to buy some in bulk: http://www.mountainroseherbs.com/

Here's where I was getting ready to 'rub' the Sage.
Here's what Rubbed Sage looks like.
TO MAKE:


Put Distilled Water into a medium saucepan over medium heat.  Bring to a gentle rolling boil.  Add the Herbs, cover the pan, and remove from heat.  Let mixture steep for at least 30 minutes.


Place a coffee filter into a colander, and place the colander on top of a bowl. Pour the Rosemary's Sage 'Tea' slowly into the coffee filter.  Some herbs may fall into the filter but don't worry if they do.  Set the pan aside.   Take a large spoon and gently press on top of any solids to extract all of the liquid.  Don't want to miss a drop after all the work getting to this point!

Getting all the liquid out!
Discard filter and any solids.  Pour Rosemary's Sage 'Tea' into a clean, sterilized glass jar or bottle and allow liquid to cool.
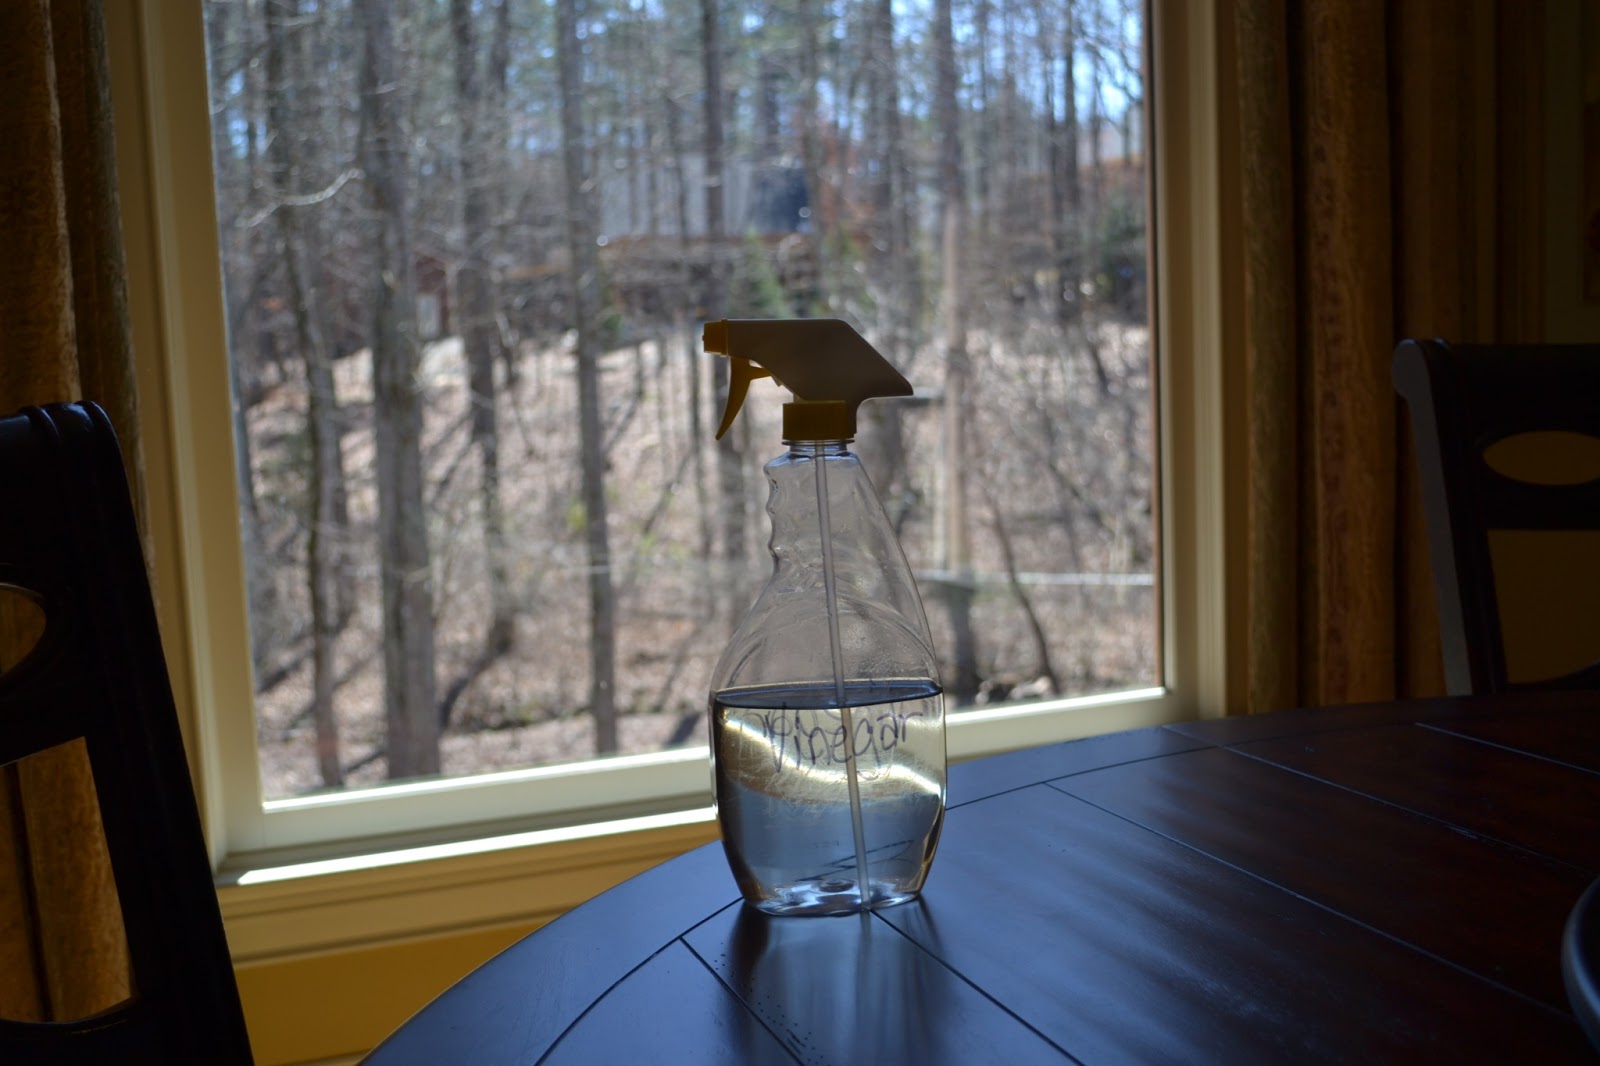
Final product ~ Rosemary's Sage Tea
Discard after 7 days and make fresh.  Store in a cool place ... I chose to refrigerate mine.  Tea can be warmed by placing bottle in warm water.


TO USE:


There is 2 ways you can use this on your hair ... I chose the second one since my hair is not gray all over ...only at the roots.


* After shampooing and rinsing as normal: Position head over a large bowl; pour a small amount of the Rosemary's Sage Tea over hair.  Massage in thoroughly.  Repeat, letting any excess run into the bowl.  Do this 5-10 times.  Dry hair as normal.  Pour any remaining Tea back into your glass bottle, and store in the refrigerator for next use.


** In between shampoos, put a small amount of Tea on a cotton ball and dab onto any visible gray areas.  I dabbed it by parting every few inches, dabbed along part and repeated all across my head ~ just like the colorist does when she touches up the roots.  


Supposedly ... most people see a noticeable difference in hair color after only one month. The Tea helps soften and minimize the gray color. Gradually gray color fades and hair returns to its natural color.  Also ... "This is not an overnight solution or a quick fix like commercial hair dyes.  It is a tried and tested formula that works."


We shall see!  I'm not posting any BEFORE pics yet ... if this works even just a tiny bit ... I will update this post with BEFORE and AFTER pics, I promise.  Stay tuned!


Here's the link of the original article:

http://m.voices.yahoo.com/how-professional-look-home-hair-color-227774.html?cat=69

UPDATE ~ October 3, 2013

Ya'll I gave this a legitimate try using it for just over a month. It DID NOT work for me and I had high hopes that I would have SOME change or at very least toning down of the gray. So I am not uploading any before and after pics as I had NO difference whatsoever!

Friday, April 12, 2013

Juicin' Hints


I’m sorta new to Juicin’, since I only began in mid January of this year, and there are some things that I’ve learned along the way that might help you out if you are also new to Juicin’ OR want to start Juicin’.  I don’t profess to be an expert … these are just some helpful hints I’ve discovered.

First off ~ Leave your Juicer on your countertop, otherwise, you will find an excuse every day NOT to juice if you have to drag it out every time.

If you buy fresh produce in bulk, like I do, most times it will not be prewashed: such as Carrots or Celery.  I wash them ahead of time and place them in ziplock baggies in the fridge.  Important Note: I do not zip the baggies closed or else the veggies will go bad really fast, I’ve found.  I think it might be because unlike leafy veggies, you can’t run them through a salad spinner after washing so you can’t really get them good and dry.  It really makes Juicin’ so much easier if you don’t have to wash everything each time before Juicin’.  It takes me about 30 minutes to wash an entire 5 pound bag of Organic Carrots and that’s enough Carrots to last a couple weeks!!!  Oh!  And you do not need to cut them though I do cut mine in half.

I also wash and trim my Cilantro and/or Parsley, dry it in my salad spinner and then store it in glass mason jars.  Yep, I have found that it stays fresher MUCH longer if I store it that way instead of in a ziplock baggie.


Look what I found in my Parsley a couple days ago ... a clover flower.
(I think that's what it is... it gets purple flowers in it)
  Anyway, I discarded it cause I'm not sure if its even edible.
When you go to juice your Cilantro or Parsley, wrap it around a Carrot or Cucumber (and tie it if you can) before running it through the juicer … you’ll get more juice out of it that way and less waste.


For my Spinach, I buy the prewashed (triple washed) Organic Spinach so it’s always ready to go.  I grab a large handful and squish it into the chute of the juicer and release (not allowing it to go all the way into the juicer down to the blade) and then ‘chase’ it into the blade with an Apple on top … the Apple will hold down the Spinach and keep it from going straight into the waste part of the juicer and you’ll again get more juice from it this way.  Less waste.

I run my Apples/Pears through whole, unless, of course, they are too large but I’ve found that most Organic Apples/Pears are on the small side and I’d say at least 90% of the time I do not have to cut them.  IMPORTANT NOTE: I have read conflicting arguments about whether or not it is safe to juice apples whole or to remove seeds first as the seeds contain trace amounts of arsenic … BUT I’ve also read that the amount is so minute that it would take HUGE amounts to ever do you any harm … so you be the judge.  I prefer not to remove them as it’s a pain plus I’m pretty sure that apple juice companies don’t take the time to deseed them.

Don’t be afraid to put Carrots or Celery or any other veggie you don’t normally like in your juice … believe me, I cannot stand raw Carrots or Celery but in my juices, can’t EVEN taste them!!! 

Clean up is pretty easy too ~ take your Juicer apart as instructed in your owner’s manual and wash each individual piece with dish soap and steaming hot water (to disinfect).  Mine can go in the dishwasher but since it takes up most of the dishwasher I usually wash it by hand.  Its just easier for me but you may find that its more convenient to run it through the dishwasher … it does have to be rinsed first though.

Tuesday, March 12, 2013

Window Cleaning


I have lots of windows in my house … lots of ‘em … from windows with sidelights to doors with full panes of glass also with sidelights to picture windows to transoms so needless to say, I have a lot of windows to keep clean.  Recently I started using plain White Vinegar (Full Strength) in an empty prior glass cleaner bottle and I don’t know why I didn’t think of it years ago … many dollars spent on glass cleaner ago!!!  My glass cleaner, which I must say is a very big brand name, just hasn’t been getting them sparkling ~ no streak free clean for quite some time (probably years but I continued to use it because hey it’s a glass cleaner, right?) … even cleaning over and over again sometimes even 3 times during same cleaning … leaves streaks big time and also leaves paper towel fuzzies.  So frustrating!!!  Oh I’ve tried using newspaper with the glass cleaner as supposedly it gets windows and mirrors streak free but even using that didn’t help.

This is just 'some' of my transoms!
And just ONE of my picture windows
So one day recently out of major frustration because certain windows/doors must be cleaned frequently since my doggies love to stick their wet noses to them … I thought hmmmm I’m gonna try White Vinegar, which was already in a spray bottle because I use it for other things as well.  Well low and behold … first wipe down left NO streaks and NO paper towel fuzzies … so sparkling clean it seemed as if there was no glass!!!  Seriously!!!

I’ve since even started using it on all our mirrors because same problem … clean and clean again and still would have streaks, fogginess and paper towel fuzzies with the glass cleaner. 

Last spring I even used the ‘new’ outdoor window cleaner made by the same brand glass cleaner to no avail … looked like I hadn’t even touched them.  I was sooooo very disappointed!  And it’s hard work climbing up and down those ladders!!!  This year I’m going to use the White Vinegar on the outside windows as well!  Just waiting for the weather to warm up! 

And best thing about using White Vinegar?  Well two best things ~ (1) You only have to wipe down ONCE and (2) Its a heck of a lot cheaper!!!

P.S. White Vinegar as with most vinegar is non-toxic and a natural deodorizer so no need to worry about smell as it dissipates pretty quickly.

Juicin’ (Includes a Recipe)


I’ve been asked ‘why’ I started juicing so here’s why.  First off the documentary (available on Netflix) “Hungry for Change” made me realize I’m probably, no scratch that, I’m not taking in enough fruits and veggies on a daily basis … none of us are if you look at the recommended guidelines and there is no other way to get all of your servings in in a day, at least not for me.  And most importantly, what I learned from that documentary as well as a few others (see my recommended list below) is that “we are what we eat” just like we were taught in school and we should view our food as our medicine.  Now these documentaries do advocate becoming Vegans or Vegetarians, which those two are entirely different as well (look it up) but I shall remain a carnivore at heart … that’s not to say I couldn’t be a PART-TIME Vegetarian because I could eat mostly vegetarian meals and cut out meat to a few times a week.  But you’re either or … a Vegan or a Vegetarian … there is no part-time truly.

Now I started slowly watching what goes in my mouth about 15 years ago with the change back to using butter INSTEAD of margarine, then it evolved to Olive Oil INSTEAD of vegetable oil (course now its only EVOO and only if it comes in a dark glass bottle, preferably imported from Italy) and about 6 years ago now on the advice of my youngest son (who had become very conscious of his eating habits and a vegetarian ~ due to his modeling at the time), to eat ONLY natural peanut butter.  Yea … I thought all peanut butter was just that PEANUTS but its not and boy is the taste so much better … the Natural kind BUT be careful, some claim to be all natural but they have molasses in them for coloring.  The one I use has just 4 ingredients: Roasted Peanuts, Sugar, Palm Oil and Salt.  So lesson here is to READ your ingredient labels … ALL of them!  My kids have all become healthy eaters, conscious of what goes into their mouths … one being a Vegan, which I don’t see that ever happening with me since I am a carnivore … the other two eat mostly veggies but they won’t totally give up meat either and of course, everything in moderation.  Anyway, over the last 3-4 years I’ve really kicked it up a notch and read EVERY label on everything I buy, including stuff from the health food section!!!  I’ve recently given up processed foods (again moderation).  And I’m sure ya’ll heard all the hype about High Fructose Corn Syrup … well from what I understand it isn’t necessarily bad for you … its just that it is in EVERYTHING … literally … and oftentimes the very first or second ingredient!!!  Then of course there is Canola Oil … no way no how I’m ever knowingly putting that in my body again … you do your own research on that and any of the other things I’ve mentioned.  Lastly, there’s Organic, versus Traditionally Grown versus GMO (fruits, veggies and meat).  Like most of this I’ve just touched on … there is lots of research you can do to learn for yourself.  Oh and let’s not forget Ketchup!  Yep, Ketchup is not the same as the kind we grew up eating (not sure when they changed that) but as I recall it was mostly smushed up tomatoes, vinegar and salt but NO somewhere over the years it had changed and I found that Heinz now makes ‘Simply Heinz Ketchup’ … again read the label difference … they still make the one full of all kinds of ingredients but the Simply is just that … simply the best … taste wise and ingredient wise.

Back to my JUICING … sorry, I just had to give a little background info…

NOW Juicing is not to be confused with Smoothies, granted BOTH are very good for you but Smoothies are dairy based and usually have added ice (water) and even peanut butter (ALL healthy).  Juicing is nothing but veggies and fruit … period.  Smoothies are made in a Blender and Juicing is done in a Juicer.  Also, there are some fruits and veggies (like carrots, celery, apples, etc.) that just won’t get smooth in a blender (not raw anyway, which is the best way to eat our fruits and veggies, for maximum vitamin and mineral absorption).  And then on the other hand, there are some fruits and veggies that will not juice in a Juicer (such as bananas, avocados and the like).  There’s more of a difference but that’s another thing you’ll just have to research yourself as I could go on and on and on.

I’ve been juicing since mid-January of this year … I started out doing it twice a day for first ten days to detox and now I just juice once a day … hey I do love to eat REAL food LOL.  I actually CRAVE a juice every day!  It’s definitely healthy for you even though I did still manage to get the flu but I have an auto-immune disease so unfortunately I don’t have the strongest or best working immune system.

Here are the food documentaries I have seen (there are others as well but some of those REALLY push becoming a Vegan or Vegetarian):

Hungry for Change
Fat, Sick and Nearly Dead
Food Matters

Okay and here’s what my Juice today consisted of … I have basically stayed with the same ingredients but you can change them up according to your tastes and sometimes it breaks the monotony to just have a different juice each day.  Oh and I must confess ~ I DO NOT DO NOT DO NOT like raw carrots or celery … and when cooked they must be diced very small or better yet slivered but no problem with them in my Juice.

Debbie’s Green Juice
Makes 16 ounces

Large Handful Baby Spinach
5-6 Stalks Cilantro (Love Flavor)
2 Stalks Celery
2 Full Carrots
2 Apples (or 1 Apple and 1 Pear)
3 Mini-Cucumbers (or 1 Normal Sized)
Splash of Pom Juice*

*Pomegranate Juice is so very healthy for you but I don’t care for the tartness so this is one way to get it into my diet every day.

Another thing about Juicing I have just got to mention.  I decided when I started this that I would HAVE to leave the Juicer (oh and it is big and bulky) on the counter or I would have an excuse NOT to juice so it stays out on my counter … always!  I also keep a weeks supply of celery and carrots cleaned and ready for use … no excuses!  And cleaning the Juicer?  Easy!  It can all be put in the dishwasher!


Wednesday, January 30, 2013

Warming Artisan Bread


If you love Artisan Bread, you know the fresh breads from Publix or Super Target like Tuscan, Rosemary, French Boule, French Baguette, Italian, Whole Garlic … yummmm.  I do and I personally could probably live off of bread and water … well at least FRESH bread.  That’s why I’m afraid to learn how to make it myself … yikes … I’d be in big trouble. 

You know how that bread gets hard after a day or two or even three?  Well here’s a helpful hint on how to warm up that bread when it’s a day or two or three old … it will taste just like it was fresh out of the oven.  Soft, warm and oh so delicious.

Take a paper towel and wet it, squeeze out all of the water so it is just damp.  Wrap your piece of bread (I’ve only done a piece or two at a time) in the damp paper towel and place it in the microwave (yea they are good for something) for 20-30 seconds.  Be careful removing from microwave because it WILL be hot.  Serve with your favorite Extra Virgin Olive Oil and seasonings or Butter … just like fresh out of the oven.  Amazingly like having fresh baked bread!  

Thursday, December 13, 2012

Nail Polish Hint


A trick I learned on Pinterest to dry and set your nail polish fast ... AND it really really works!  I used two coats of polish  (my favorite brand is OPI) followed by a top coat (as usual) and then dipped my fingers into Ice Water for about 20 seconds ... I did it twice per hand just to be sure and sure enough ... it was dry!  Plus that little tad of polish that gets stuck around the edges of your nails on your skin ... gone!    AND get this ... it lasted for over 2 weeks!!!  I'm not kidding.  Normally without doing this my polish will last close to 2 weeks before it starts chipping.  BUT after doing this it lasted over 2 weeks and without chipping ... the manicure only started looking bad because of nail growth!!!  Seriously!

Edit: I should have emphasized that I use 2 thin coats of polish letting them set for a minute in between and then apply the top coat BUT the ICE WATER trick does work ... fabulously!!!

Saturday, September 29, 2012

Itsy Bitsy Spider ..... NOT

For some reason we've had a lot of spiders in and around the house this year.  A couple of months ago, when I was cleaning the outsides of the picture windows, I was knocking down webs like crazy.  There were so many you'd think we live in a haunted house!!!  I've tried spraying Pine Sol (was told by someone that works) around the outside of the house and around the windows to no avail ... I've tried a couple natural home 'remedies' to no avail ... and I've finally just had to break out the spider spray.  

So what do I find late last night on our back deck ... a humongous spider web!!!  This one much bigger than all those others I knocked down.  And somehow the spider had managed to build it in just over an hour because it wasn't there earlier!  He was planning to catch something big ... yikes!  I was thankful I hadn't brought my Bella out with me because she would have walked right through it down the steps and had, not only spider web all in her long white hair, but also a pretty humongous spider on her as well ... eeeeeewww!


I'm surprised I was able to get the web to show up in a pic ... I tried blowing flour onto the web thinking it would stick and help it show up better ... thought maybe the spider spray might do the trick too but no ... nothing seemed to help ... not even the Windex, LOL  But you can somewhat make it out in this pic.


And here's a couple close ups (thank goodness for zoom lenses) of that nasty spider ... eeeeeew ... looks like it may be a wolf spider but I'm not sure ... does anyone know?  At this point, he was dying but I wasn't getting close ... no way ... no how!  Legs and all ... he was easily 3 inches ... wish I'd thought to put something down beside it for comparison.


Here's a shot of the web today in the daylight ...


Afterall ... Halloween is just around the corner!!!

Monday, July 23, 2012

Heals Like New

Does this look like the heel of a 50 year old?
In addition to my regular use of a pumice stone I use Heal Tastic ...
yea I don't normally fall for "as seen on TV" stuff BUT after trying all kinds
of crazy home remedies, including smothering my feet in Vaseline and covering with socks over night, and a few others from Pinterest
 and STILL my heels didn't look so great ... dry and cracked ...
I was pretty much ready to try anything (well, within reason).
So a couple months ago I decided to give Heal Tastic a try.
You can see the results for yourself!
(Sorry I don't have a before pic but hey these are 50 year old feet)
I love it ... I use it every morn then put on my flip flops and go.
Not only do I use it on my heels but also on my toes and balls of my feet.
When I first started using it I would put it on 2-3 times a day.
Its not greasy and soaks in pretty quickly.
What convinced me to try it was the list of ingredients ~ all natural.
Now I paid $9.00 ($8.99 if you want to get technical) for mine
but I've seen it as low as $7.00 at Ross.
I love this stuff  ... so much so I've thought of stocking up on it just 
in case they stop making it!


Sunday, July 15, 2012

Organic Sunscreen

With all the information regarding the questionable safety of sunscreens ... for example: http://www.draxe.com/75-of-sunscreens-are-toxic-what-to-do-instead/ I decided I didn't want to cover my body with toxins and chemicals known to cause skin cancer and other cancers.  Hey it makes sense ... why do we put chemicals on our body to be absorbed into our skin thus into our systems?  Sooooo... I did a little online research of my own, reading ingredients, claims, reviews and the like and found this product on amazon.com.  It was a little pricey but the average review had 5 stars (the highest rating) and its claims that it didn't leave a white film or stickiness on the skin sold me.  

It smells amazing and good enough to eat ... and you probably could (though I wouldn't advise it) ... some of the ingredients include Aloe Vera, Shea Butter, Jojoba, Almond, Green Tea.

I used it this past week at our family beach vacation in Seagrove Beach, FL ... it was awesome!  I didn't burn as long as I reapplied it every couple hours (as it advises) and it made my skin feel so soft.  And true to its claims ... a little goes a long way!  It only took the size of a dime to cover an entire arm!  Also, true to its claims ... it completely absorbs into your skin immediately.  A few family members tried it and loved it as well ~ all were in awe of its wonderful smell!  

Just so ya'll know ... I am NOT getting paid to say this.  This is a product I've tried and want to share my opinion.  I will definitely buy it again!


Wednesday, March 21, 2012

Sunburn Remedy!


We’ve all done it … somehow by either not putting on enough sunscreen, a strong enough sunscreen, missing a spot or two with the sunscreen or just plan being stupid and not using any at all.  SUNBURN!

Well during my lifetime I’ve been burned many times … especially as a child and then as a teen when back then we used Baby Oil and Iodine!!!  AND often laying on the roof of our house or one someone’s black trampoline … to attract the sun’s rays.  WHAT WERE WE THINKING?  Cooking ourselves … literally!

If you’re like me and you’ve been BURNED … you too have tried many of the products out there for sunburn relief: Solarcaine, Aloe and as a child I even took baths in Vinegar or Baking Soda … eeeeew!  Relief, yes … temporary, yes … peeling, itchy skin a few days later, yes! 

Well a few summers ago while on a trip with some friends to Myrtle Beach, I apparently missed covering a couple large spots on my shins with sunscreen … well I missed my shins entirely, if you want to be truthful.  BURNED so badly I could hardly walk without pain.  I had the old standby of Aloe … the one with Lidocaine and kept applying it every few minutes with no relief.  It was so bad I was even taking an OTC pain reliever for pain … to no avail.

Well my friend, Kevin, says … “Alcohol” … I’m like “yea a drink would probably make me forget about the pain” LOL … he’s like “no, I mean Rubbing Alcohol”.  I told him he was crazy … absolutely nuts!  Rubbing alcohol?  Now that would burn it all over again … wouldn’t it?  Well a short while later I was willing to try anything … ANYTHING … so on went the Rubbing Alcohol … applied with a tissue … and very gently, I might add.  IT WORKED!  Relief was unbelievable and instant.  Now I had to re-apply it often for the first few hours and then after that … complete relief.  I’m talking COMPLETE RELIEF! Nothing but a cooling sensation!  No burning, no itchy skin later and best of all NO peeling skin!

Now, unfortunately I’ve had the opportunity to use Rubbing Alcohol several times since then … BURNED … and have even recommended it to family and friends who are also convinced that it works.  Cheap and easy and best of all … IT WORKS!  Someone should package it in a spray bottle, maybe give it a better scent or something and market it because I’m telling ya’ll … IT WORKS!

Tuesday, November 15, 2011

Cleaning Gas Stovetop Burners

Remember when we were kids how our Mamas all cleaned everything with ammonia?  Oh how I hated that smell … eeeew!  Mama would open up all the windows when she cleaned and/or mopped with the stuff … you had to or the fumes would knock you out!  But it worked, right?  All these new expensive products out there and we kick the smelly ammonia to the curb and no one uses it anymore.  Well I’ve gotta tell ya … we need to go back to the simple stuff because the simple stuff does work.  I use white vinegar for lots of things around the house … always have cause … it always works … well that’s another story for another blog.  This one is about ammonia and cleaning those hard to clean gas stovetop burners.
If you cook with gas, you know how build up can occur even with regular cleaning ... so there comes a time when you have to do some heavy duty, elbow grease kinda cleaning.   Well ... I had tried everything to clean my gas stovetop burners (and the stovetop too) … everything from oven cleaners, SOS pads, Softscrub with Bleach … I could go on and on … EVERYTHING just short of sandblasting the dang things!!!  Well we do cook and cook A LOT at that so dirty burners are a sign of a well used kitchen … yes but …I like a clean kitchen.  AND you can clean them every time you cook BUT there is always that slow build up when you cook with gas!!!
Well ... I've recently become addicted to Pinterest … love it!  It has so many ideas for so many things on and when I ran across the idea of cleaning your gas stovetop burners with ammonia … I’ve gotta admit, I was a bit skeptical … who wouldn’t be … I thought I had tried EVERYTHING ... "one more thing to try that doesn’t work" I thought.
I tried it ya'll and dang gum if it didn’t work … and worked wonders at that, I tell ya.  See the photos for yourself … my burners look like brand new … well except for the scratches from wear … otherwise they are shining again like they should be.

Here’s what cha do:
Take and put your burners into a zip lock bag … now I had to use the XL Ziplock bags because my burners wouldn’t fit into the gallon size.  Then pour in ¼ cup of Ammonia … that’s it … just a ¼ cup.  Zip it closed, of course, and then let it sit.  It’s the fumes that do the work!!!  I let mine sit overnight (outside in the sun, just in case the bag sprung a leak).  Next day, simply rinse them off with warm water.  Now there was a couple spots where I had to scrub lightly with a Scotch Brite sponge to remove the gunk but no real elbow grease was used!  NOTE: The XL Ziplocks are large enough you can fit all of your burners into it! 
I know it seems too easy, right?  Well I gotta tell ya … I checked on the bag a few times myself and I was still skeptical … seeing it sit there it appeared to be doing absolutely nothing.  I thought … hmmm should I add more ammonia … maybe since my burners are extra large I need to add more … BUT I DIDN’T.  Then this morning when I brought them inside, I thought … well one more thing tried … they didn’t look any different then when I put them in the bag.  But when I took them out and started rinsing … I was in awe at all of the gunk rinsing off of them!!!  Just rinsed right off!!!

BEFORE

AFTER
I am amazed at the difference.  I left one burner out just so I could see the difference with my own eyes and can’t wait for Scott to see them!  Oh he is gonna be glad to see how clean they came because frankly … this is one chore I had given to him cause it was that much work and I don’t have the elbow grease that he has. 
Well this ammonia thing … no elbow grease required.  Easy and cheap!  No more expensive products that DO NOT WORK for me.

NOTE: I've have done this several times since the original post and for some reason it seems to work BEST if the bags are put into direct sunlight (outside) on a warm/hot day ... I imagine its the combination of heat and sunlight that warms up the ammonia and helps it work its best.